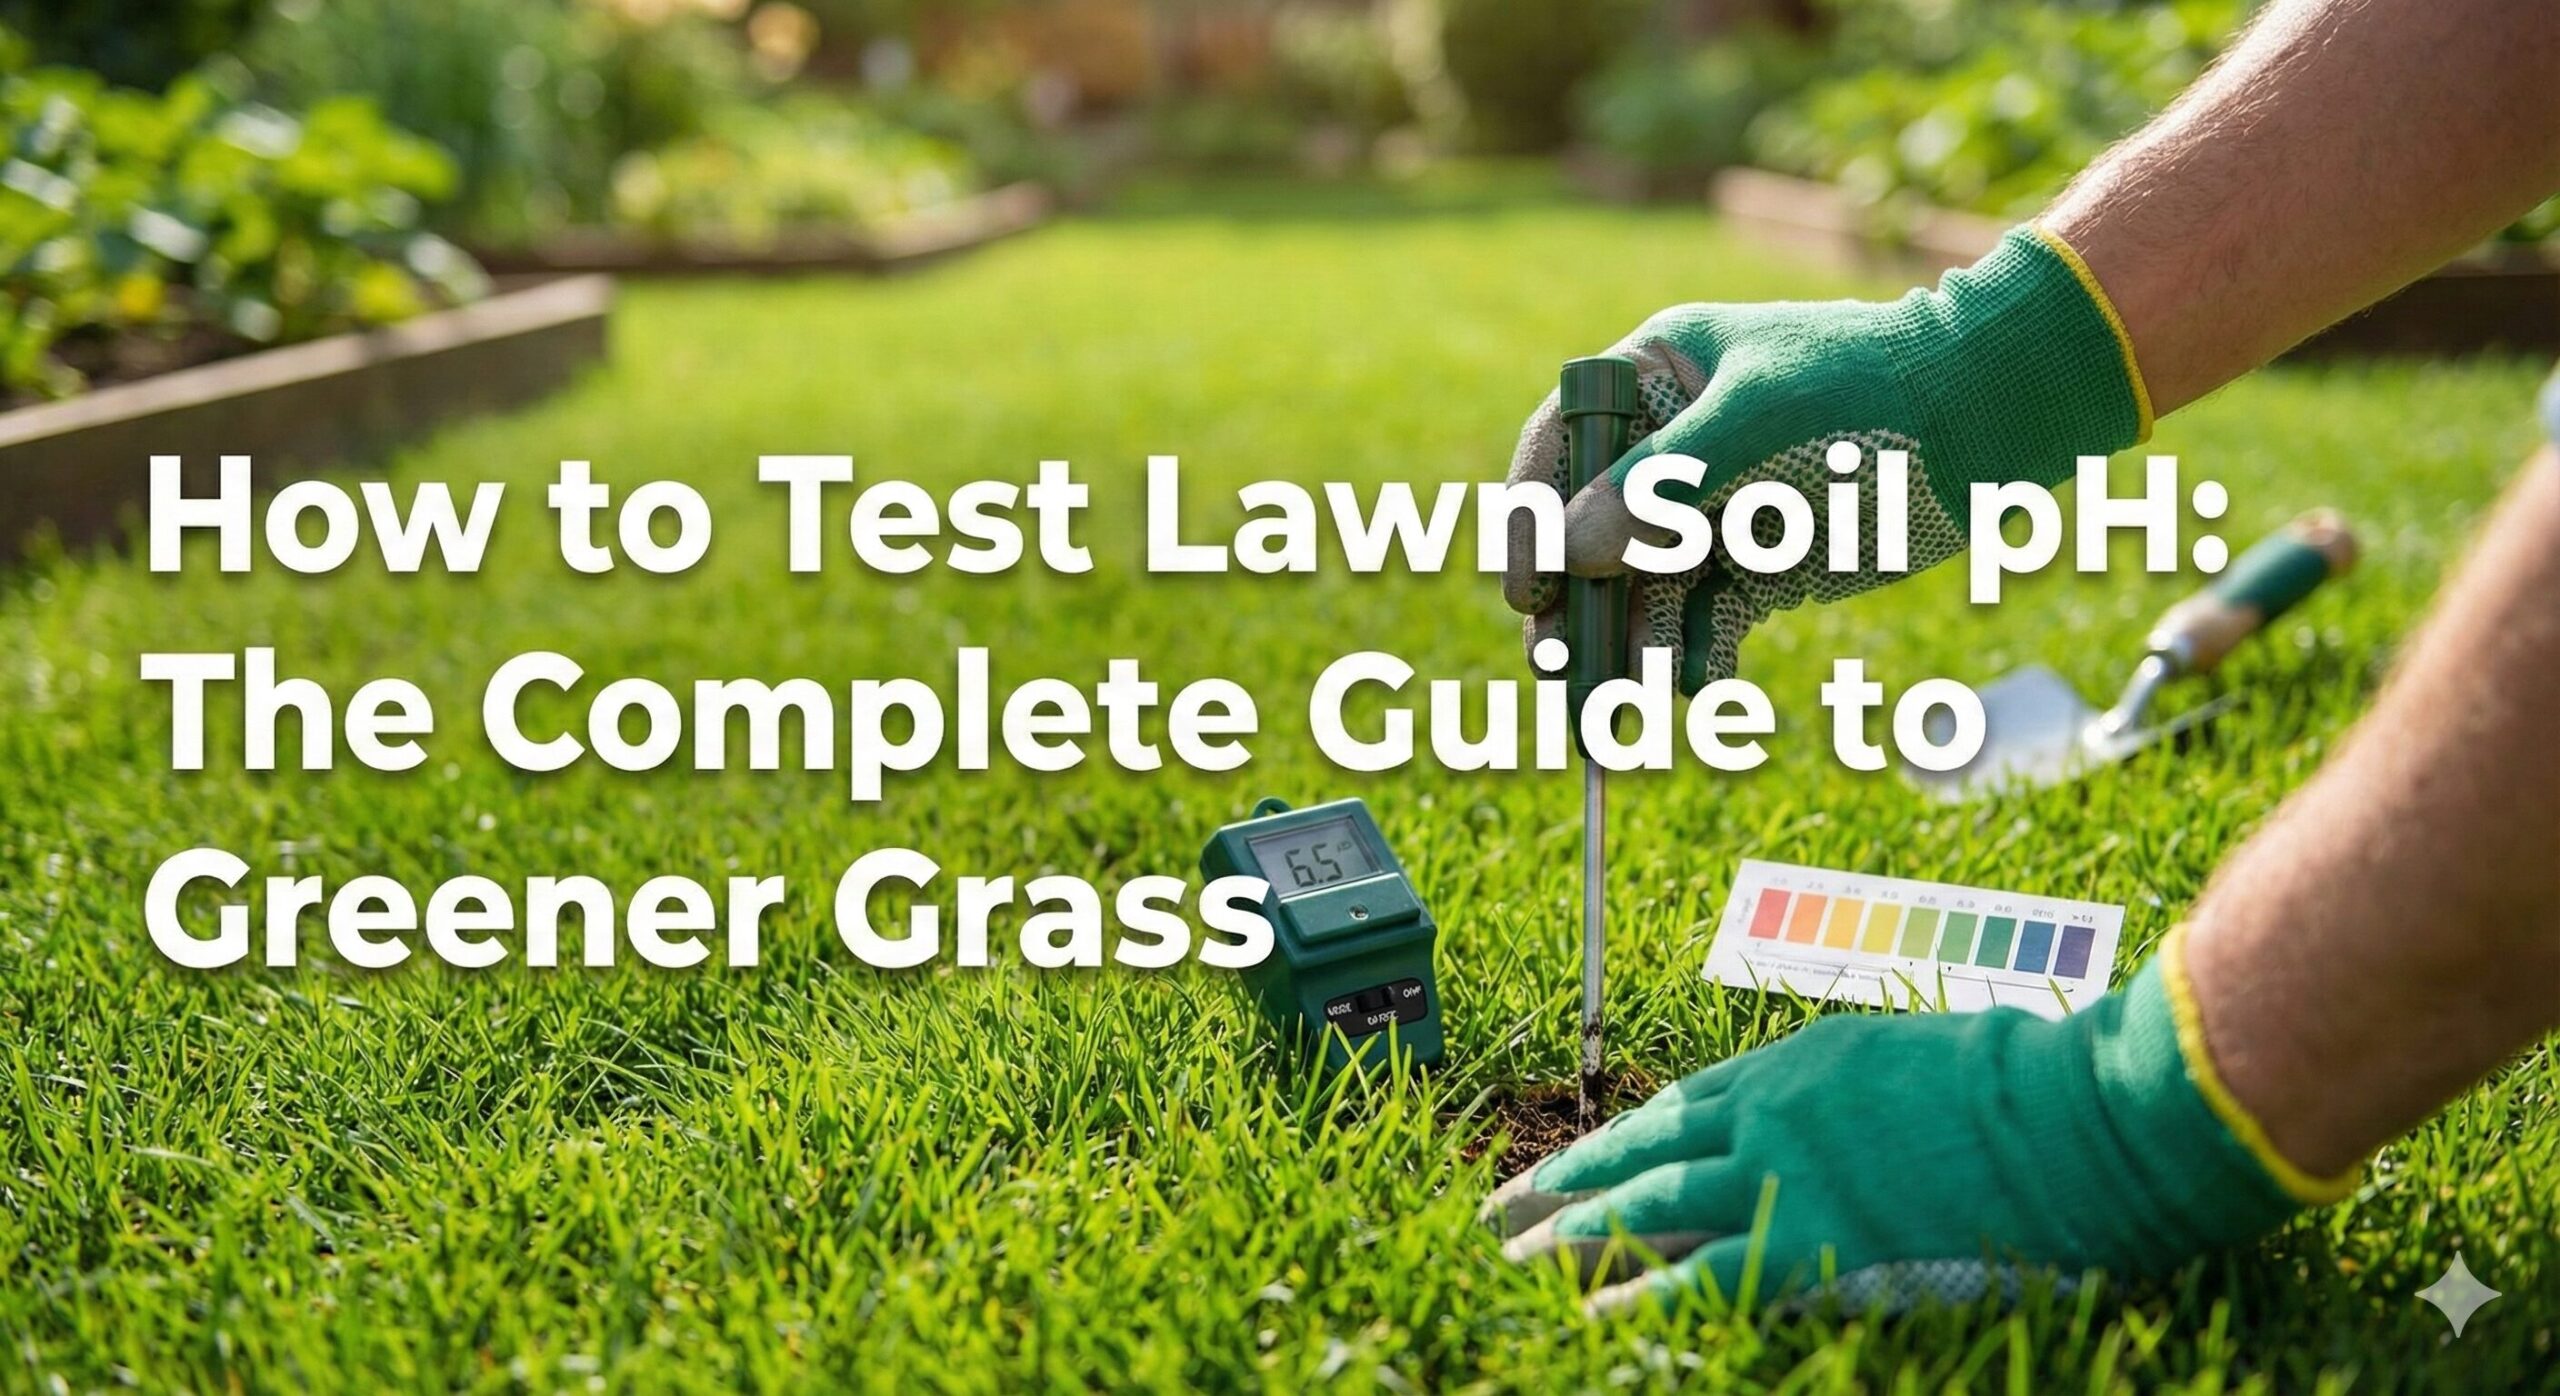
How to Test Lawn Soil pH: The Complete Guide to Greener Grass
Is your lawn struggling despite regular watering and fertilizing? The culprit might be invisible. Soil pH is the master variable of your lawn’s health. If it’s off, your grass literally cannot absorb the nutrients you’re feeding it. In this guide, we’ll break down exactly how to test your soil pH accurately using three proven methods, so you can stop guessing and start growing.
⏱️ Quick Decision: Which Method is Right for You?
Don’t have time to read everything? Here is the breakdown based on your needs:
| Scenario | Best Method | Est. Cost |
|---|---|---|
| Instant Results / Frequent Testing | Digital Soil pH Meter | $15 – $50 |
| Occasional Check / DIY | Chemical Droplet Kit | $10 – $20 |
| New Lawn / Major Issues | Professional Lab Test | $20 – $40 |
Why Soil pH is Critical for Your Lawn
Soil pH measures acidity or alkalinity on a scale of 0 to 14. Most turf grasses thrive in a slightly acidic range of 6.0 to 7.0. Here is why this number is vital:
- Nutrient Lockout: If pH is too low (acidic) or too high (alkaline), nutrients like Nitrogen, Phosphorus, and Potassium become chemically bound to soil particles. You could throw down bags of premium fertilizer, and your grass will still starve.
- Microbial Activity: Beneficial bacteria that break down thatch and organic matter need a neutral pH to survive.
- Weed Control: Certain weeds thrive in acidic soil. Correcting pH is often the first step in natural weed prevention.
Before you decide between Liquid vs granular fertilizer, you must ensure your soil can actually use it.
Get professional-grade accuracy at home. This 4-way analyzer checks pH, Moisture, Sunlight, and Fertility instantly.
Check Price on AmazonMethod 1: Using a Digital Soil pH Meter
For most homeowners, a digital probe is the best balance of speed and convenience. These devices give you an instant reading without messing with capsules or powders.
Step-by-Step Instructions:
- Clean the Probes: Use a mild abrasive pad (often included) to wipe the metal probe clean. Dirt or oxidation affects accuracy.
- Prepare the Soil: Dig a small hole about 2-4 inches deep. Remove debris like stones or large roots.
- Add Water: Pour distilled water into the hole until you have a muddy consistency. Tap water can skew results due to its own pH.
- Insert & Wait: Push the probe vertically into the mud. Wait 60 seconds for the needle/digital readout to stabilize.
- Record & Repeat: Take readings from 3-4 different spots in your yard and average them.
✅ Pros
- Instant results (no waiting).
- Reusable hundreds of times.
- No chemicals to mix.
❌ Cons
- Requires battery (usually).
- Must be kept very clean for accuracy.
- Cheap models can be inconsistent.
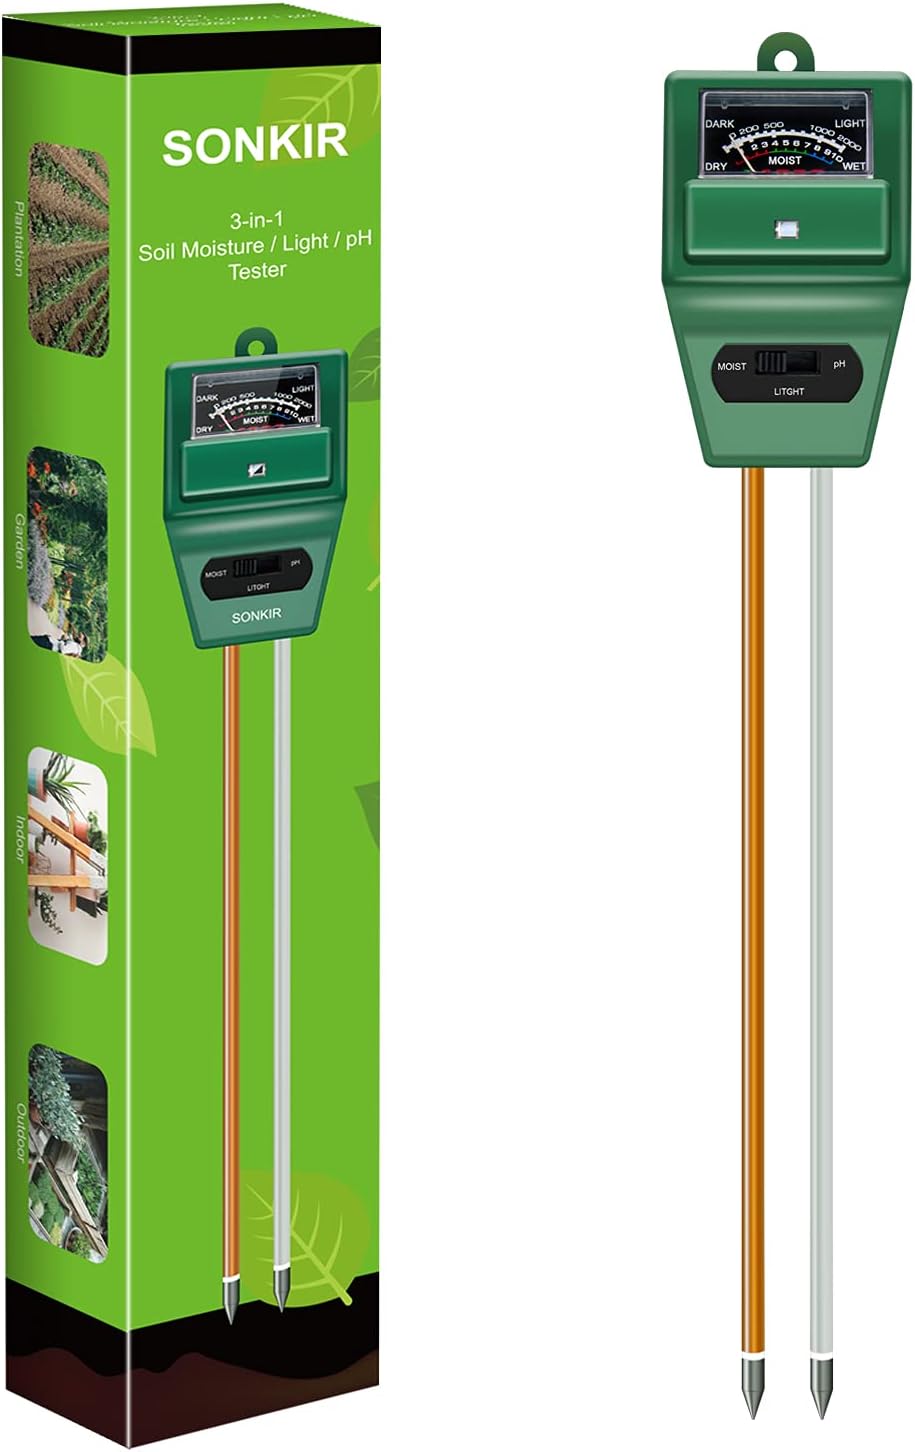
Don’t guess—know for sure. The Sonkir 3-in-1 Soil Moisture/Light/pH Tester is the #1 bestseller for garden maintenance.
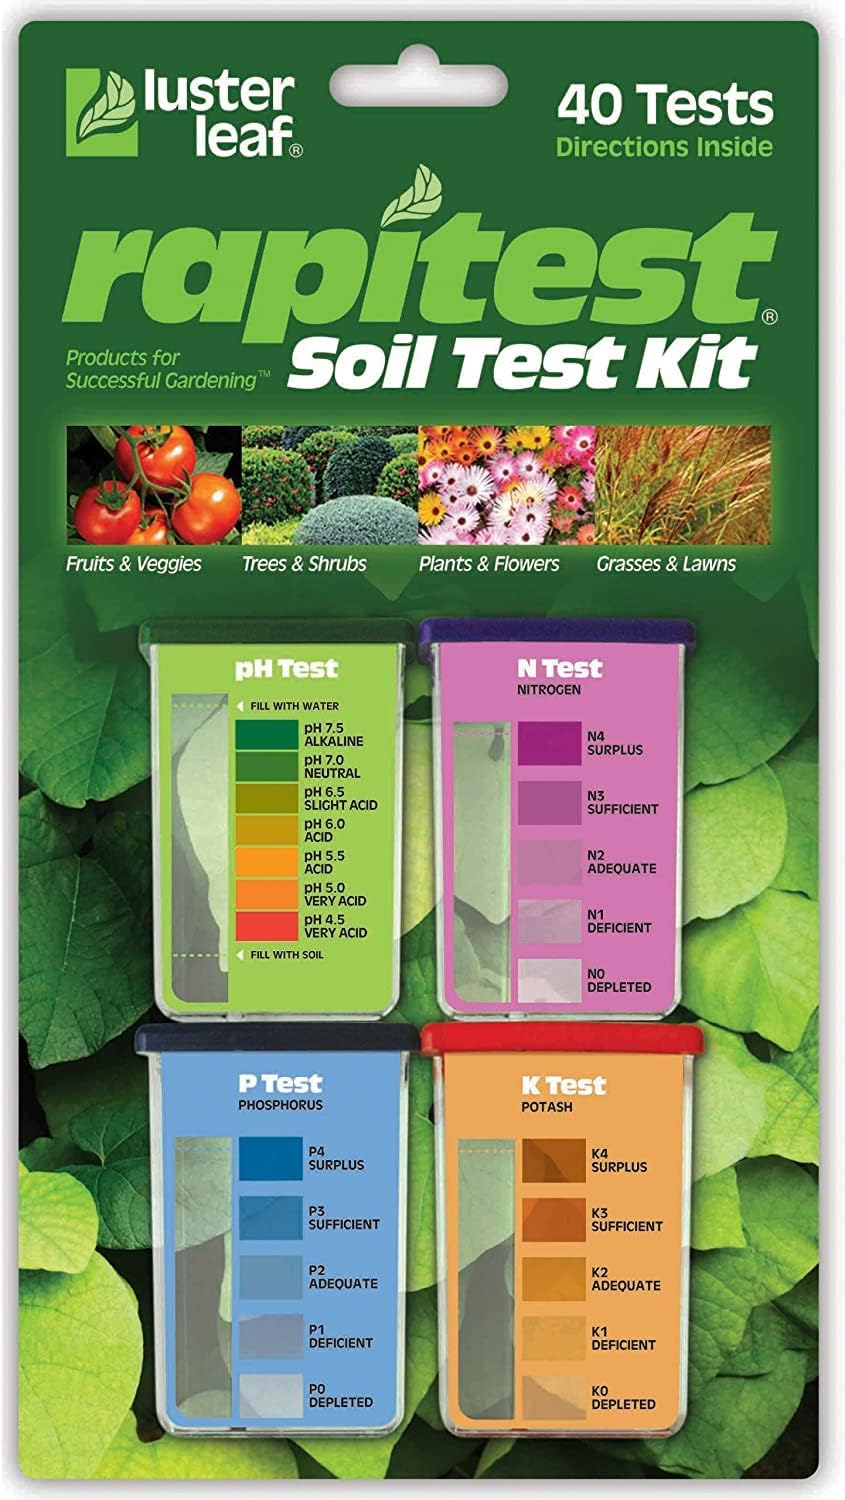
Check Price on AmazonMethod 2: Chemical Test Kits (Capsules or Droplets)
These are the classic “science class” kits. You mix soil with a chemical reactor and compare the color change to a chart. They are surprisingly accurate if you follow the directions closely.
Step-by-Step Instructions:
- Collect Soil: Take a small sample from 2 inches below the surface.
- Fill the Chamber: Place the soil into the test kit’s designated chamber.
- Add Powder/Drops: Open the pH capsule or add the reagent drops onto the soil.
- Add Water & Shake: Fill with distilled water to the line, cap it, and shake vigorously.
- Settle & Compare: Let the soil settle for a few minutes. Compare the water’s color to the pH chart provided.
Pro Tip: If you are using organic fertilizers like those mentioned in our Milorganite fertilizer review, test your soil before application to get a baseline.
Method 3: Professional Lab Testing (The Gold Standard)
If you are struggling with persistent dead spots or planning a total lawn renovation, skip the DIY tools. A lab test gives you a detailed report not just on pH, but on micronutrients (Magnesium, Calcium) and organic matter levels.
How it works: You buy a mail-in kit (often available on Amazon or at local extension offices), fill a bag with soil, and mail it. Results are emailed to you in a few days with specific recommendations on exactly how much lime or sulfur to apply.

Get a full lab analysis without leaving your house. Soil Savvy provides professional fertilizer recommendations tailored to your lawn.
Check Price on AmazonInterpreting Your Results
Once you have your number, here is what it means for your grass:
| pH Reading | Classification | Impact on Lawn |
|---|---|---|
| Below 5.5 | Strongly Acidic | Poor growth, moss infestation, nutrient lockout. |
| 6.0 – 7.0 | Neutral / Ideal | Optimal nutrient uptake, healthy microbial life. |
| Above 7.5 | Alkaline | Iron deficiency (yellowing grass), slow growth. |
Note that different grass types have slight preferences. For a deep dive on warm-season grasses, check out our comparison on Bermuda vs St. Augustine grass.
How to Fix Your Soil pH
Don’t panic if your pH is off. It is correctable.
If Soil is Acidic (Low pH): Add Lime
Garden lime (Calcium Carbonate) neutralizes acidity. It comes in pulverized (powder) or pelletized forms. Pelletized is less dusty and easier to spread. Apply it in the fall for best results in spring.
If Soil is Alkaline (High pH): Add Sulfur
Elemental sulfur or aluminum sulfate helps lower pH. This is a slower process and should be done carefully to avoid burning the grass.
Maintenance & Ongoing Care
Testing soil pH isn’t a “one and done” task. Rain, decomposition, and fertilizer application naturally change soil chemistry over time.
- Frequency: Test once a year, preferably in Spring or Fall.
- Consistency: Try to test roughly the same time each year.
- Equipment: Keep your tools in top shape. Just like you need to know how to sharpen lawn mower blades for a clean cut, you need to keep your pH meter probes clean for accurate readings.